I recently became unhappy with the performance of my web server. I was using a Mediatemple DV Virtual Private Server, which I began using several years ago for other projects. I think eventually a lot of the software just got a little out of date, as did the operating system. So rather than trying to make that server as up to date as possible, I decided to just start with a new server, so the operating system would be updated to the latest, as well as other software that makes everything run properly. I have written a previous post showing how to change the blog’s url, which was actually a fairly simple process so long as you are keeping the blog on the same server. But now we are going to change servers, while keeping the url the same. Okay, so here we go.
To learn more about Mediatemple or other hosting services I have used, check out my blog post on how to start your new food blog.
How To Change A Food Blog’s Server: 7 Steps
Warning, if you don’t understand how to successfully complete any of the steps listed here, particularly steps 3, 4, and 5, you should stop what you are doing either until you learn how to do all of these steps or you have help from somebody who can do them for you. You can cause irreversible damage to your blog if you fail to successfully complete all steps listed, particularly steps 3, 4, and 5.
Step 1: Back Up Your Blog’s Files
Using FTP software, connect to your current server and download your WordPress site’s files to your local computer. This will be your local file back up in case anything goes wrong. You will re-upload these files to the new location on your server once you know where to upload them to. Depending on your WordPress install, this will take a few minutes at least, and if you have lots of media on your site, much longer than that.
Step 2: Back Up Your Blog’s Database
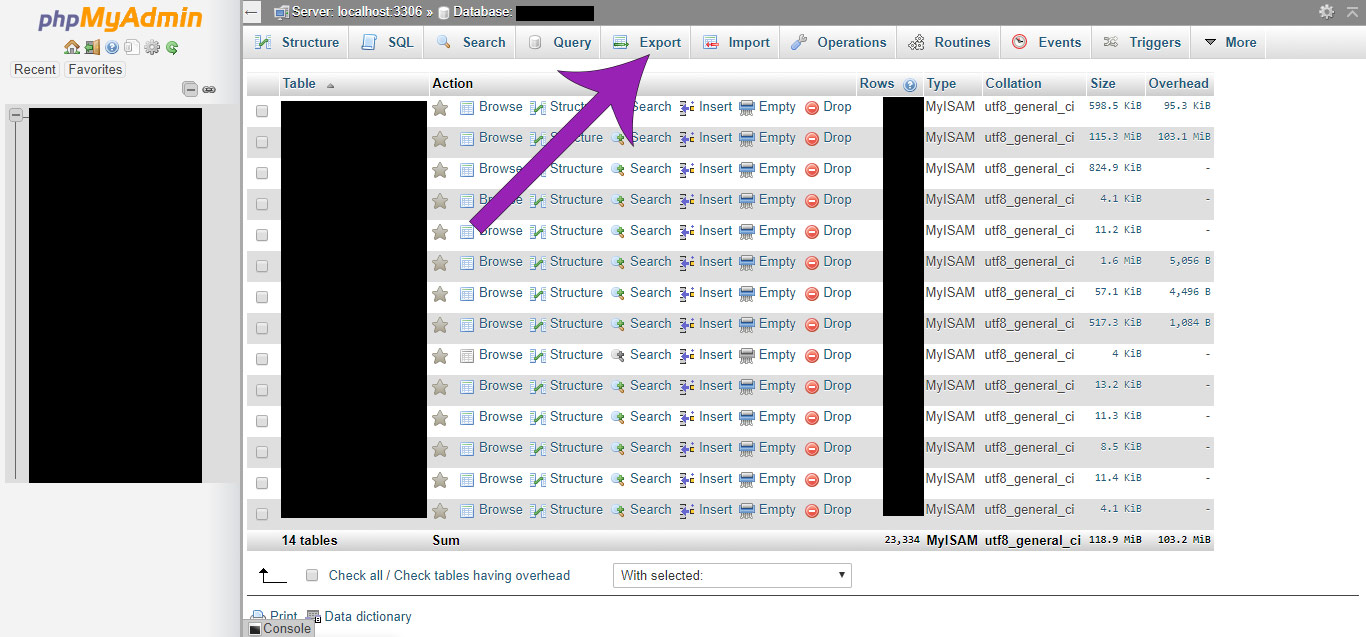
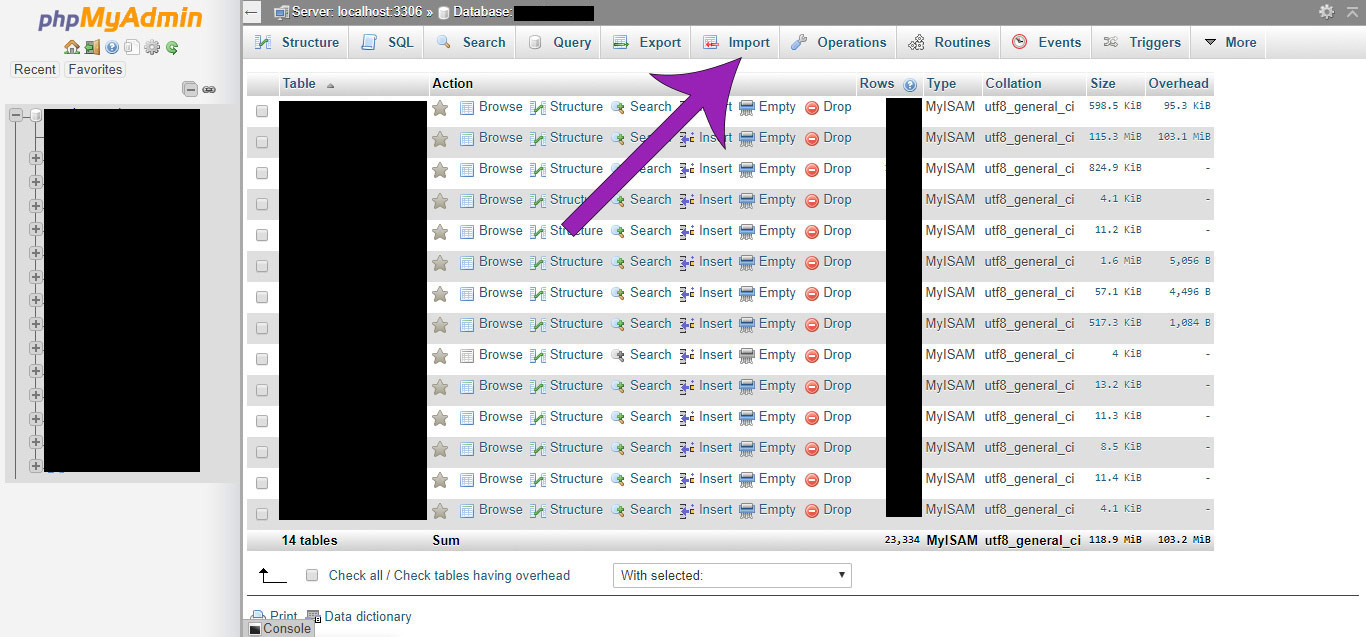
Create a backup file for your blog’s database. The database is exported as part of an .sql file. Your best bet is to use a GUI program to export/inport your database. Many servers will have PHPMyAdmin available for you, if so, use tha. The screenshots below show the PHPMyAdmin interface and the import/export buttons. Download the file to your local computer and save it where you will be able to find it. You can figure out which database your WordPress blog is using by opening the wp-config.php file in your blog’s main file “root” directory. In that file you will see a line that looks like this:
define( ‘DB_NAME’, ‘MyDatabaseName’ );
Your particular database name will be on that line instead of ‘MyDatabaseName’. That will be the database you export. Don’t skip steps 1 and 2!! You can overcome any mistakes as long as you have your files and database backed up to a known working version.

Step 3: Import Your Database Onto Your New Server
Using your new web server’s management software (ie, PHPMyAdmin), import your database by uploading the .sql file you saved in Step 3 to your new server. Beware here. Sometimes things aren’t so straightforward here. Sometimes the import will run and then encounter an error and shut down. If this happens, you’ll have some troubleshooting to do. If you are not very knowledgeable about PHP and MySQL configuration, you may need to enlist the help of a pro to help you get through any import errors.

Step 4: Configure Your Domain Name on Your New Server
Using your new server’s management software, add your domain name and point your domain at a new web-accessible directory on your server. This is how your server knows where to route web requests for your new domain name.
Step 5: Reinstall Your Blog’s Files
Using FTP, upload the WordPress files previously saved on your local computer to the new web directory.
Step 6: Modify Your Database To Work With Your New Domain Name, if necessary
This step may or may not be necessary at this stage. If you are transferring your blog from one web accessible server to another and the url is not changing, this step is not needed. But, if you are transferring WordPress from a local development server to a production server, you may need to perform this step if the url of the development server is different from the production server. For example, I was doing local development on my blog at the url dadspantry.local.com. This step was necessary for me to have the blog operate properly at dadspantry.com.
So if needed, install the WordPress plugin Better Search Replace. Run a search and replace on your blog’s database using the WordPress plugin Better Search Replace to replace your old domain name with the new domain name everywhere it appears in your database.
Step 7: Update Your DNS to Point to the New Server’s IP Address
Since you have changed the server that will be serving your website, and presumably the IP address, you will need to update your DNS to point to the new IP address. You do this through your DNS service provider by following the directions provided by your service.
At this point, your blog should be up and running on your new server. If it still seems to be loading the site from the old server, it may just take a while for the DNS update to propagate. Sometimes when I look at a site whose DNS has recently been updated, the update will first become apparent on my iPhone. Once you know the new server is serving your blog, check out that everything is working correctly and you can login. If it’s working, congratulations! Now get back to creating your content!
Leave a Reply